Astrology Clock
One of my first projects, Astrology Clock, was inspired by my partner, who turns to astrology to help understand the confusing parts of life. My goal was to design a clock that showed the positions of astrological bodies in the zodiac in a regular web page, and then create a hardware clock, powered by a Raspberry Pi, that displayed the clock 24/7. Finally, I would give the clock as a surprise housewarming gift when we moved in together. The perfect master plan for a girl with way too much time on her hands.
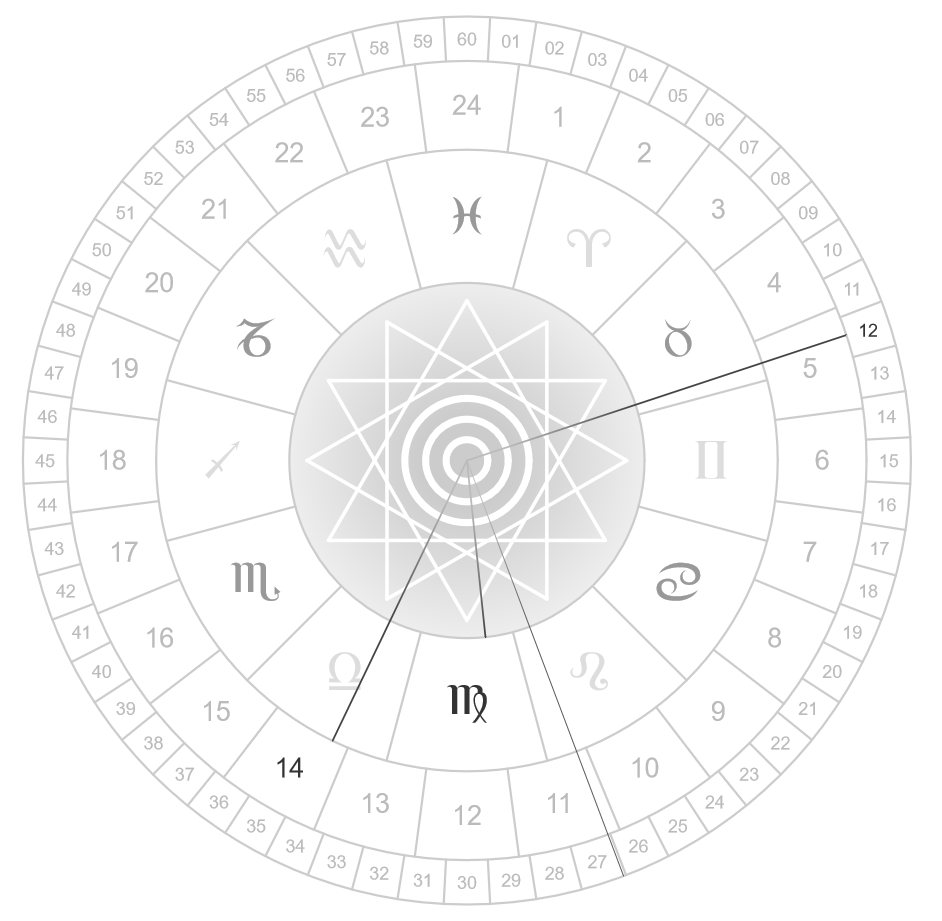
I began the project by searching for similar projects that already existed, and that search led me to the original AstrologyClock by Robert Mermet.

It's a nice-looking project, but it only shows the location of the sun. I wanted to see the locations of every significant astrological body. So, I got to work. The first concern was finding a way to actually get the locations of the bodies.
The software
Astronomers (as opposed to astrologers) have the concept of an ephemeris (plural: ephemerides), which is a resource that gives the trajectories and estimated positions of planets up to a certain point. Ephemerides have a bunch of uses, from stargazing to navigation.
In our case, my goal was to keep Astrology Clock 100% offline, without needing any external resources. The clock was going to run on a Pi Zero (not very powerful), and it needed to tolerate being offline. I needed an ephemeris that could calculate the positions of heavenly bodies on the fly.
This led me to find 0xStarCat's Moshier-Ephemeris-JS, a pure ES6 JavaScript ephemeris that works completely off the browser.
Ephemerides permalink
Most popular ephemerides (like the Jet Propulsion Lab's or the Swiss Ephemeris) are essentially just giant tables detailing the positions of every single planet every single minute of every single day. As you can imagine, these tables get big. So big, in fact, that it was not practical to be querying them constantly to get the positions of astrological bodies for the clock. It was also extremely not practical to try and store them locally.
Luckily for me, a very smart man by the name of Steve L. Moshier devised an algorithm to calculate ephemeris positions on the fly based on the time and coordinates of the observer, accurate up to the year 3000 C.E. This is the Moshier ephemeris, and it's what 0xStarcat adapted into their module, which is used in the final clock.
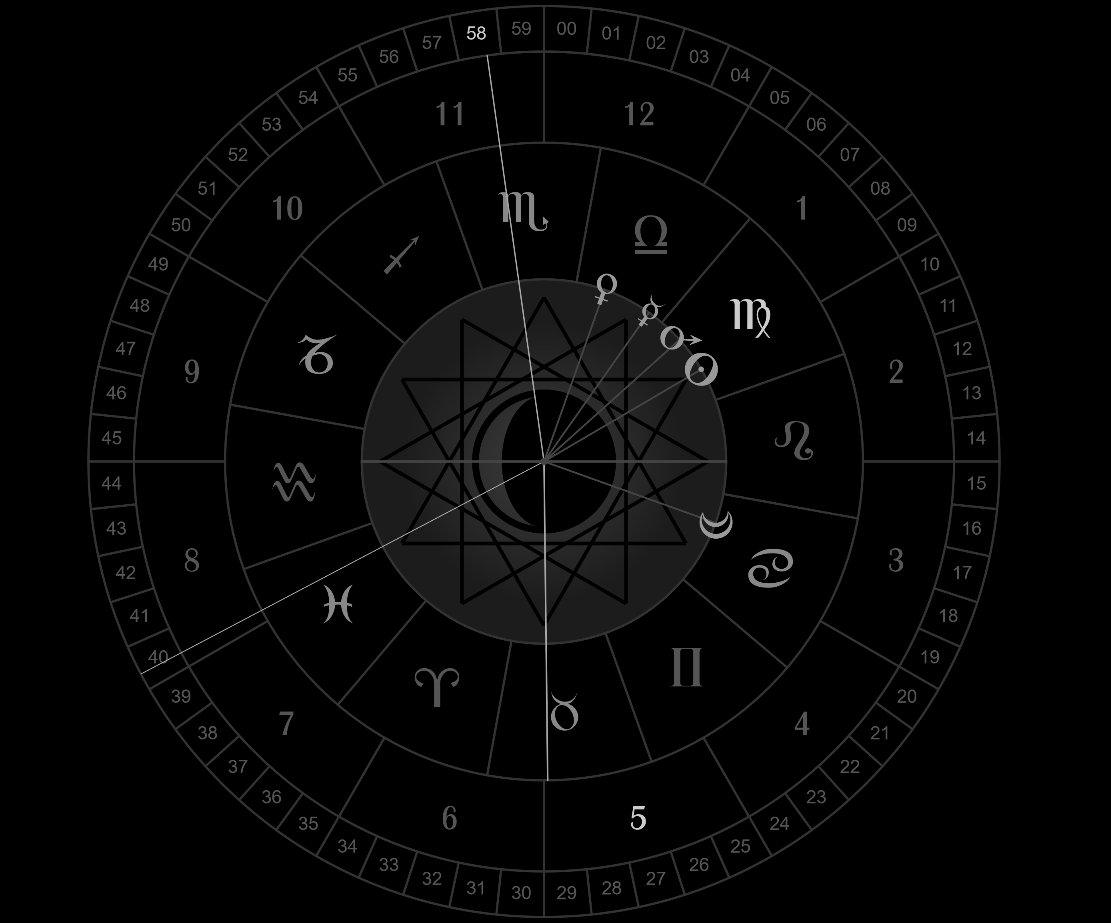
With the ephemeris implemented, the first thing I did was add extra inner clock hands for each astrological body the ephemeris was capable of calculating: the Sun, the Moon, Mercury, Venus, Mars, Saturn, Jupiter, Uranus, Neptune, Pluto, the asteroid Chiron, the celestial point Lilith, and the ascending lunar node.
I was also able to add hands for some important astrological angles and parts: the midheaven, ascendant, and the parts of fortune, spirit, and eros. If you don't know what any of these are, don't worry; neither did I, and it's not relevant anyways.
So, now we had clock hands set up, but the clock didn't look very good with a billion little hands crowding up the center. Plus, there was no way to distinguish between the hands.
Luckily for me, the same font that Mermet used to draw the signs of the zodiac on the clock also has symbols for each of the astrological bodies (except a couple, which I had to resort to some font modification wizardry for.) With that, I was able to add symbols to each hand showing which body it represented.
To solve the crowding issue, I also implemented some basic configuration. Users could choose which bodies they'd like to see, and only those hands would appear. I set the default configuration to only show the bodies most people care about (the Sun, the Moon, Mercury, Venus, and Mars). Later, I was able to extend this to allow people to modify the config by right-clicking on the website itself!
We had only one more problem: when hands got too close together, their symbols would overlap and become hard to read. I solved that by writing a short little algorithm to check the positions of all symbols before drawing them, and any symbols that were too close were nudged apart slightly. Afterwards, the algorithm would repeat, nudging any symbols that were too close to each other after the previous nudge, until closely-spaced symbols were perfectly spaced apart.
Now, it was time to put the finishing touches on the clock. I added a display in the center to show the current phase of the moon, with extra highlighting if it's a full moon or new moon.
I also made the zodiac signs rotate about the center so that the ascendant angle is always horizontal, on the left. This way, the horizon is marked exactly by the horizontal diameter of the clock, so that any bodies in the top half are currently in the sky.
Lastly, I added an all-important dark mode, and the clock was complete.

Finally, just for kicks and giggles, I enlisted a friend of mine, Swordstone, to help me port the clock to Wallpaper Engine on Steam. Thanks to him, you can also use the clock as your desktop background!
The hardware
Early on, I wanted the clock to be on a circular LCD panel, so that it looked like a real wall clock. This was scrapped pretty quickly, because as it turns out, it's very difficult to find a circular LCD larger than a small watch face.
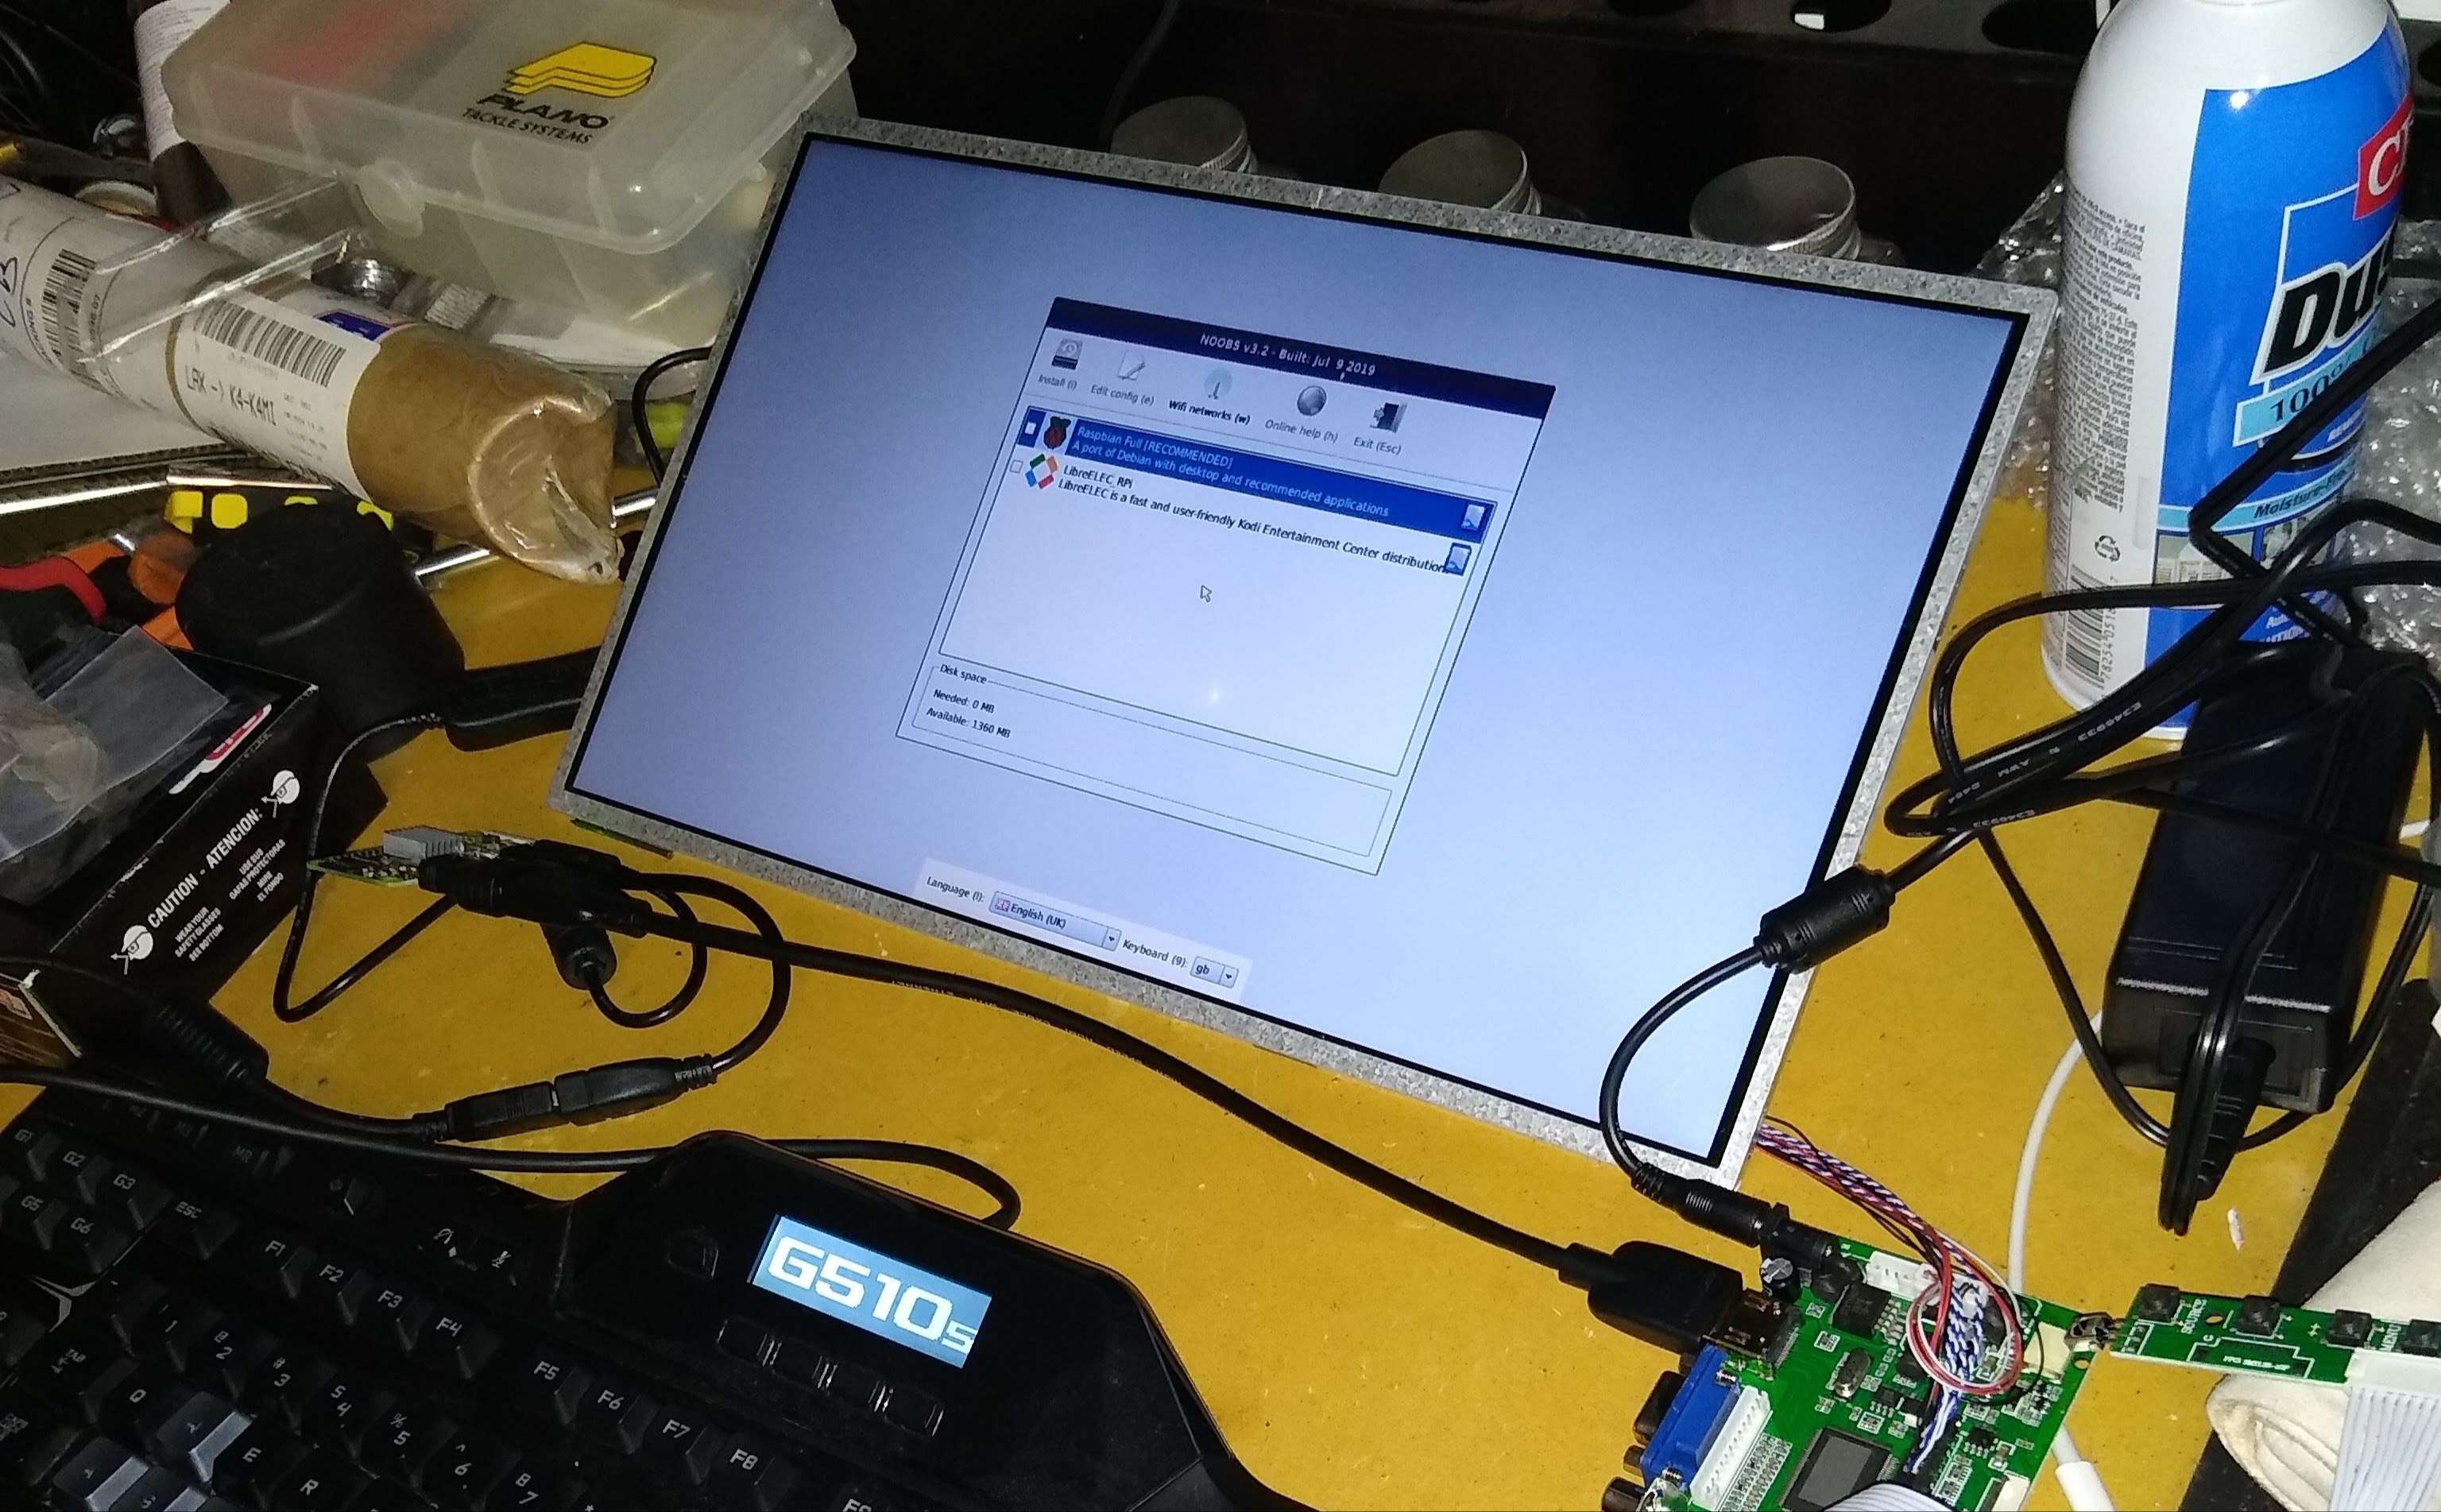
My next idea was to use a regular laptop LCD panel. I had a spare laptop with a perfectly good panel, so I tore it apart, bought an LCD driver board off Amazon for a few dollars, and had the perfect screen.
Other miscellaneous parts included: a power supply for the driver board, a Raspberry Pi Zero W, and a couple of adapter cables.

Next, I needed an enclosure for the clock. I measured out the dimensions of the LCD and designed the enclosure in TinkerCAD, taking care to include some clearance for the power supply. My friends at AXYZVEN-USA, a local CNC and laser cutting shop, were able to cut out some MDF board in the exact dimensions I needed.
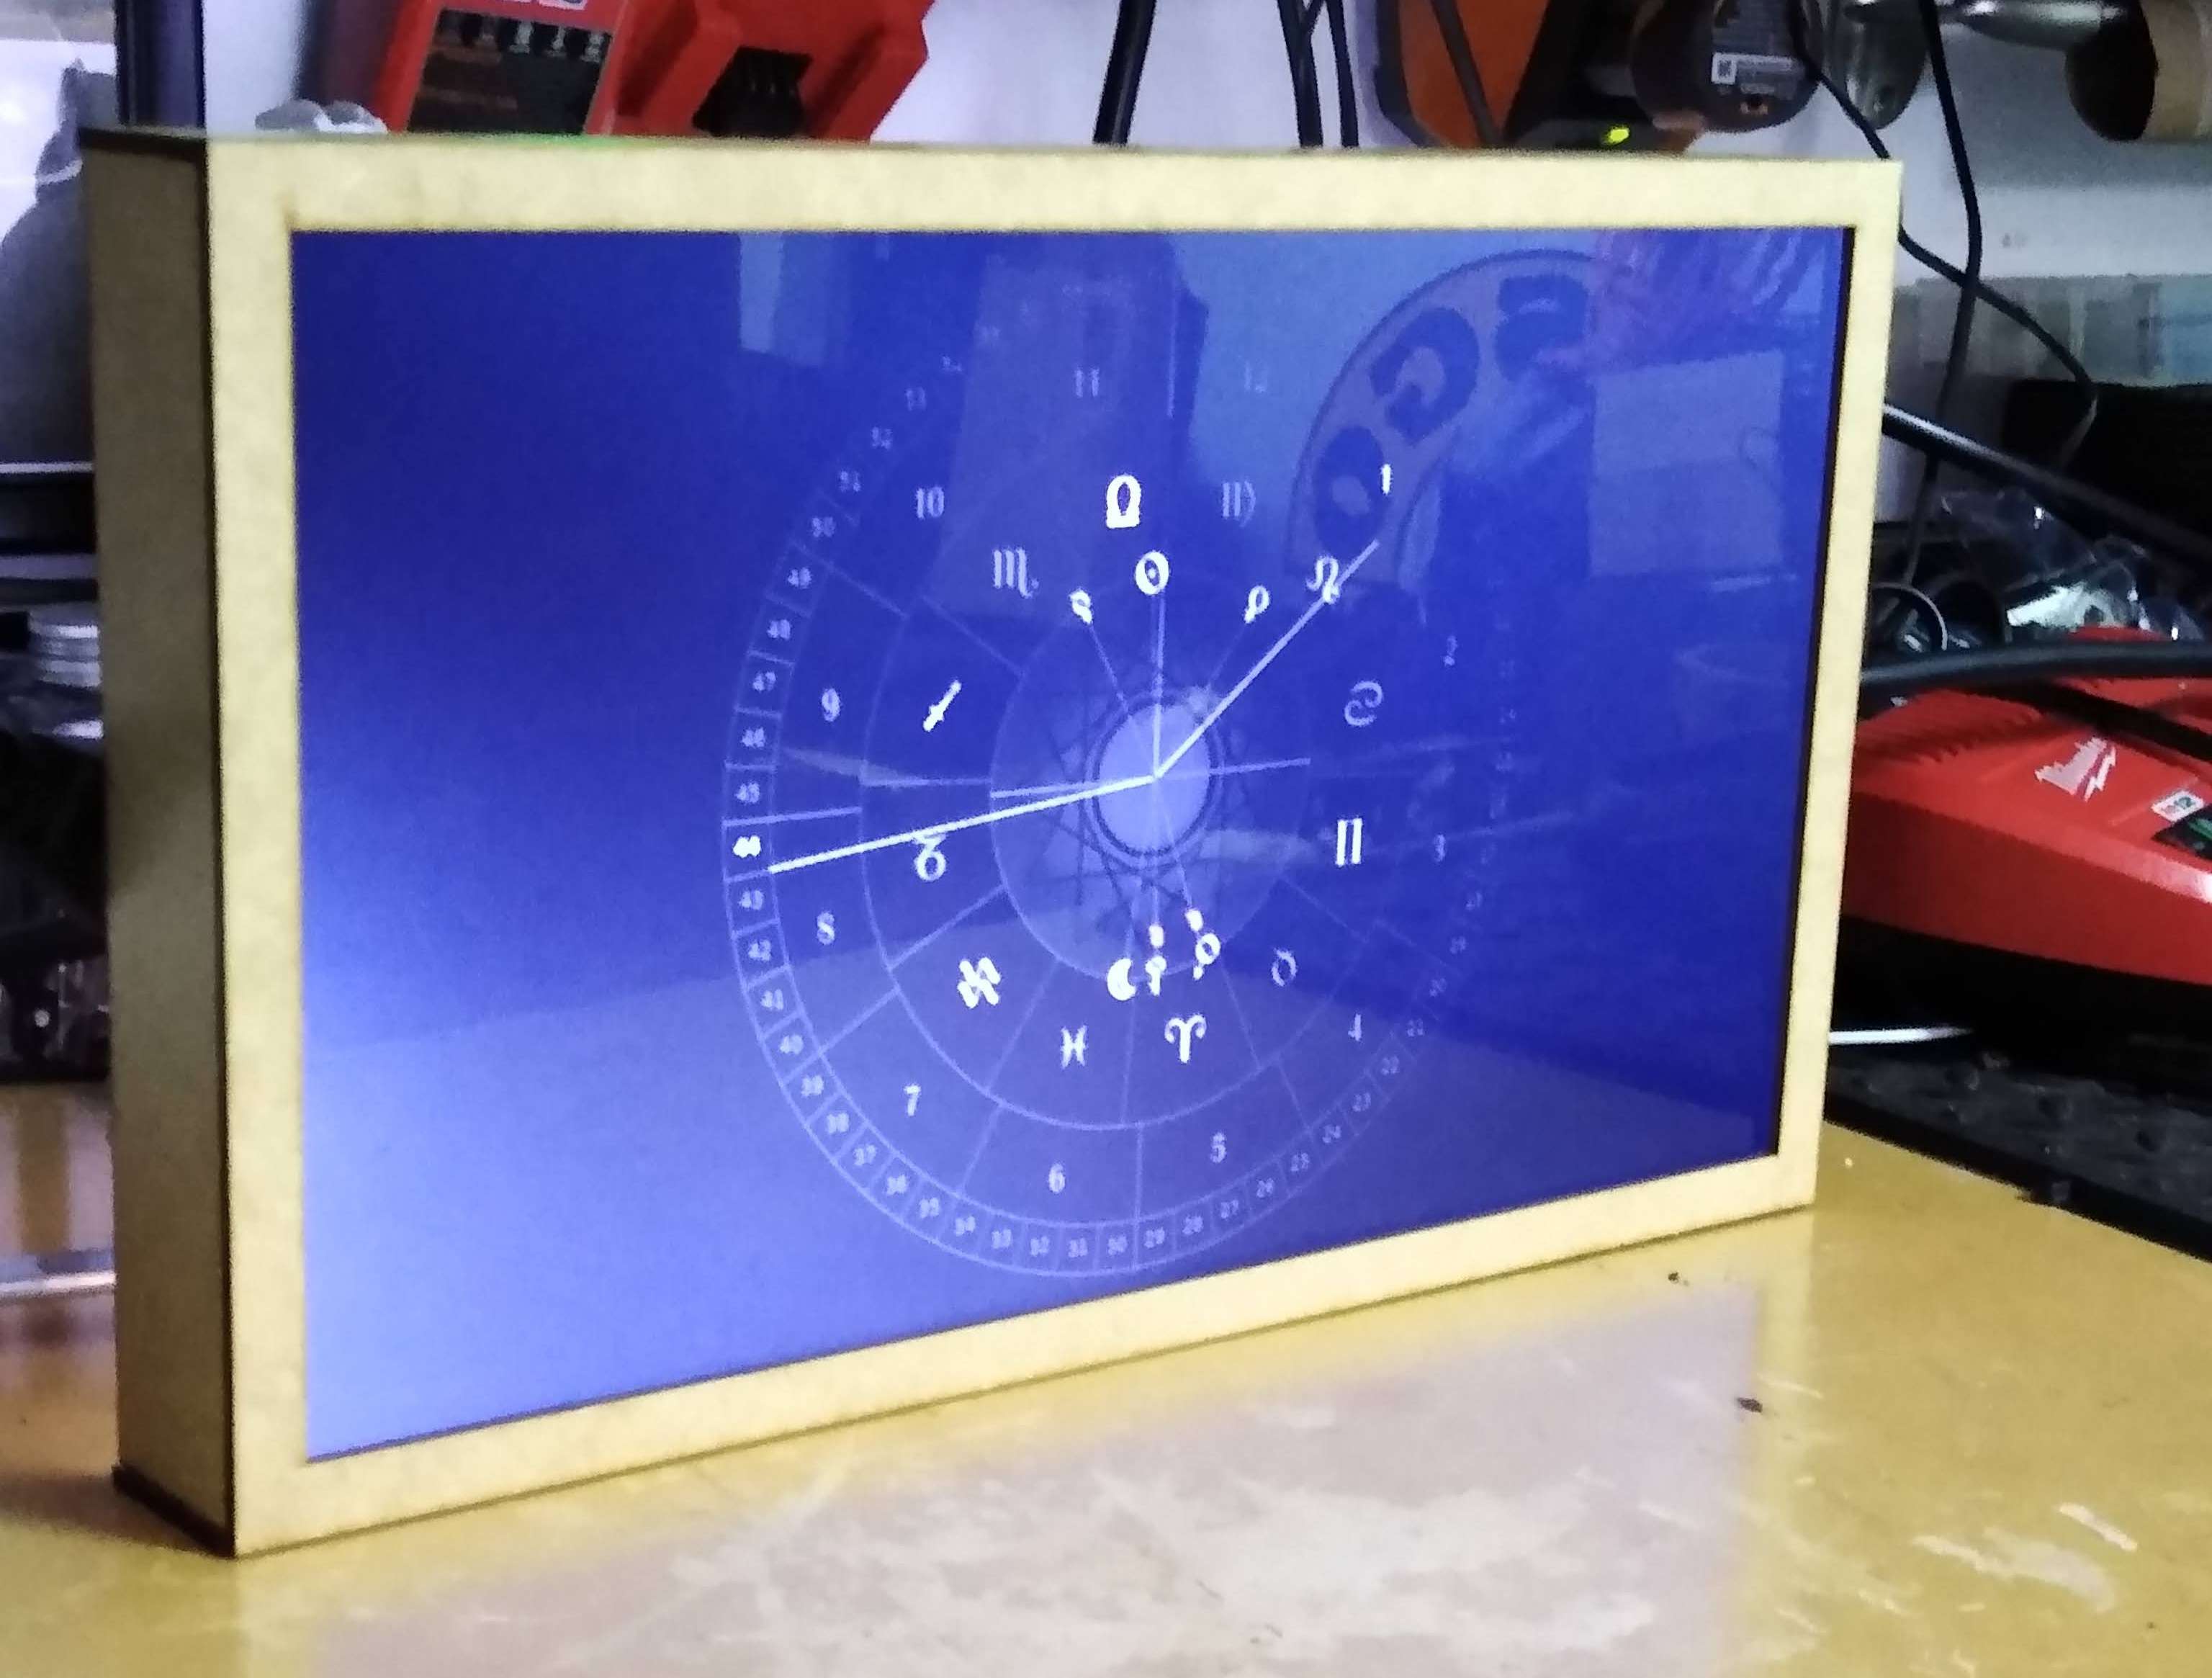
From there, I assembled the box, and I was able to fit the guts of the clock in perfectly. A couple of hinges and some precise cuts later, and I had the perfect enclosure for my clock.
Lastly, with the whole thing assembled, all I had to do was set up the Raspberry Pi to boot to Chromium in kiosk mode and open the clock website (stored locally on the Pi). The end result? A pretty nice clock, and the perfect housewarming gift.
